Free PPT to Video Converter – Create Product Promotion Video Presentation in Minutes

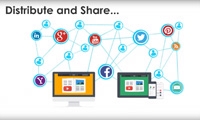
Why not converting PPT files into interactive video presentation for better enjoyment? Free PPT to video converter like Focusky benefits you to create promotion video presentation in a few minutes without any trouble. Frankly speaking, with this powerful video presentation maker, not only can you create amazing video presentation with rich media and impressive zooming and panning effect from PPT, but also you can publish it online and burn it to CD. This software makes your presentation easily accessible and increases the chance of successful product promotion.
How to create amazing product promotion video presentation?
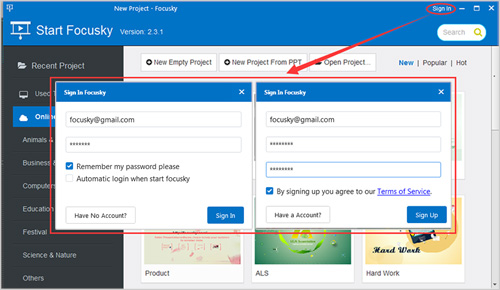
Step 1: Sign up & Sign in
After converting your PPT files to video presentation, Focusky reminds you to click "Sign In" on the top right and sign in with your registered account. But if you don’t have an account, you can sign up for a new one.
Download Focusky Desktop Version
Step 2: Create New Presentation Project
You can create a zooming presentation project easily. Just choose to start from PPT files, new empty project or pre-designed template.
New Empty Project:
By creating a new empty project, you will need to create the presentation from scratch. And once you select this option, you will be directed to the main design interface.
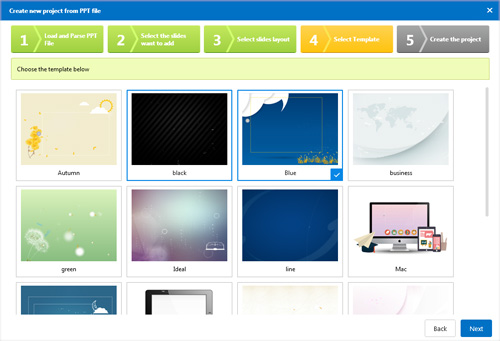
New Project from PPT:
Focusky provides a solution to video presentation from PowerPoint PPT, including PPT and PPTX documents. You are able to select all PPT slides or specific slides for the new presentation project. And you can drag and drop to re-arrange the slides before you select a layout from the multiple options. Next you can selecting a template and create the new project.
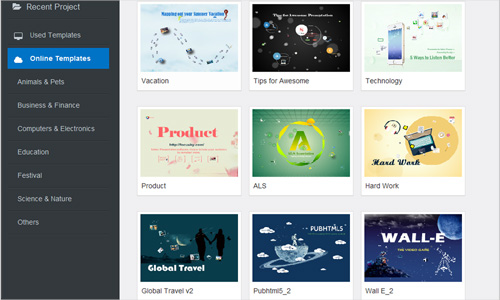
Pre-designed Template:
This free PPT to video converter offers multiple pre-set templates for you to choose. And each of the templates is actually a complete presentation with different elements including slides, objects, path, animation and so on. You just need to edit the elements and add your own content.
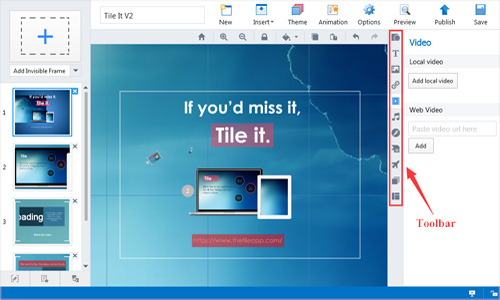
Step 3: Customize Presentation
In the main design interface, you can customize the presentation with a variety of settings :
(1) Change theme and background;
(2) Add, delete or re-arrange the slides;
(3) Add objects and multimedia elements: shapes, images, links, videos, audio clips, flash, smart arts, etc. And customize properties for the embedded objects;
(4) Add animation transition to the embedded objects;
(5) Add new path as new slide.
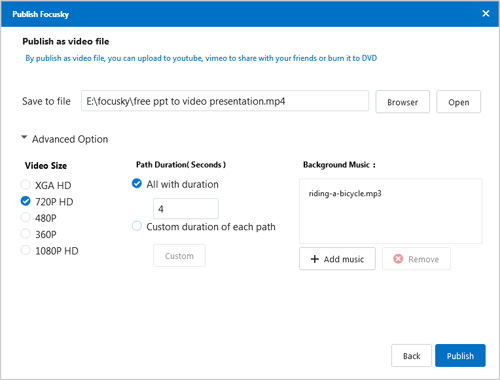
Step 4: Publish Video Presentation
Click "Publish" and select "Video" type, then click "Next" to perfect publish options: output path, video size, path duration, background music.